Exporting Fields from Pix4D Fields to XAG
Made by Kirk Babcock
This guide provides a straightforward process for exporting fields from Pix4D to XAG, making it essential for users looking to streamline their agricultural workflow. By following these steps, users can efficiently transfer data and ensure accurate field management. The guide is particularly beneficial for those new to the XAG platform or seeking to optimize their field operations. It's clear instructions help mitigate confusion, ensuring a seamless integration of technology in farming practices.
1. Open Pix4D
2. Open up the project to be uploaded to XAG FMS.
3. Click on the operation.
4. Click "Export"
5. Click "Operations"
6. If the GPS RTK NTRIP usage reminder window pops up, Click "OK".
7. Select the operation for export then Click the dropdown box.
8. Select "XAG".
9. Select "XAG Boundary Mission" then click "Continue".
10. Select how the holes in the boundary are to be treated. In this example they are "No-spray areas" so Click "No-spray areas".
11. Click "Export"
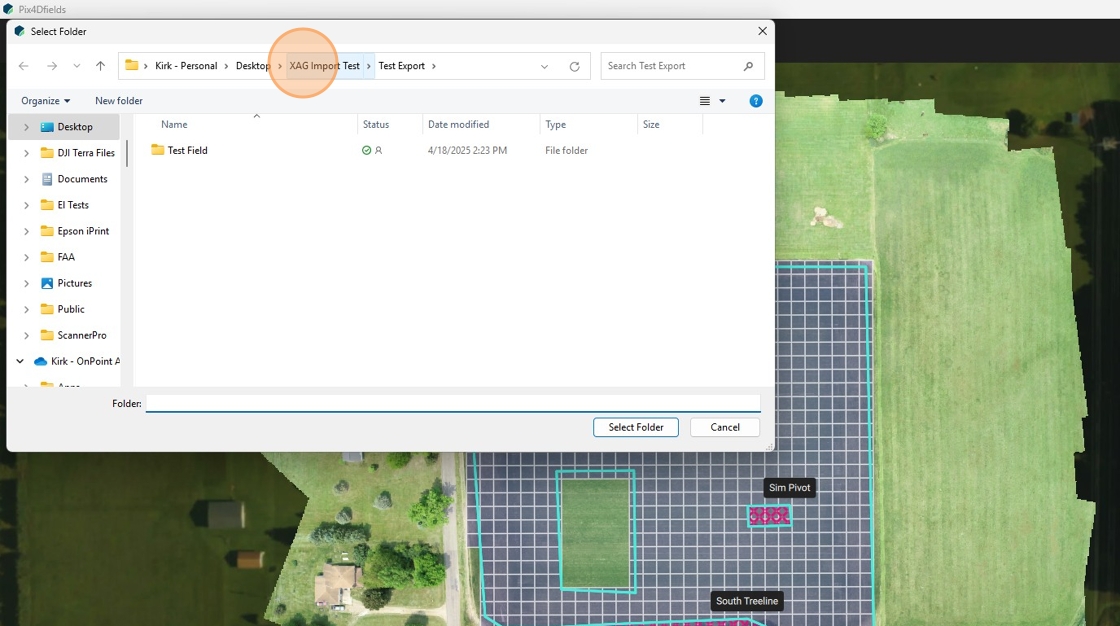
12. Select the folder you want the KML file to reside in and click "Select Folder".
13. Click "Select Folder"
14. Open a web browser and enter https://nf-us.xa.com
15. When you get to the XAG One Management Platform, enter your XAG login information.
16. Select the "User Agreement" Box.
17. Click "Login"
18. Select "Individual User" if applicable.
19. Hover over "Import"
20. Click "Field Import".
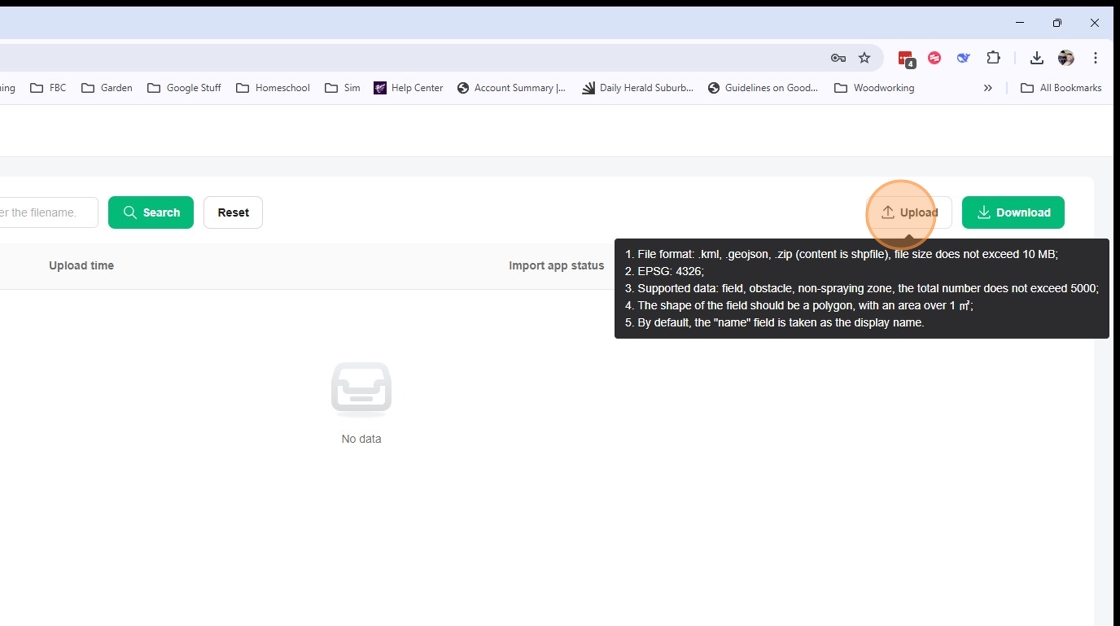
21. Click "Upload"
22. Click "View"
23. Review the file to be uploaded.
24. When you are done reviewing, Click "Exit".
25. Click "Import"
26. Click "OK"